Creates strong, durable pieces that resist bending and cracking - perfect for long-lasting s
Flows easily into molds and tight spaces, ideal for detailed designs and smooth finishes
Formulated with UV stabilizers to keep your creations crystal clear over time.
Maintains original shape and size after curing—no warping or distortion, even in fine details.
How do I cure UV ?
Apply to your project and cure under a 24W+ UV lamp or direct sunlight for 1-3 minutes. For best results, cure both sides by flipping your item after curing the top.
Do I need to cure UV from both sides?
Yes, always cure from both sides. This ensures the hardens completely, prevents sticky spots, and is especially important for non-transparent or thicker items.
Why is my UV still sticky after curing?
Stickiness means under-curing. Cure longer, use a stronger lamp, and cure both sides. If the surface is still sticky, repeat the curing process until fully hardened.
How thick can I pour UV ?
Pour UV in thin layers of 1-3 mm. For thicker projects, build up in layers, curing each one separately from both sides for full hardening.
Can I mix pigments or glitter into UV ?
Yes, you can mix in mica powder, glitter, dyes, or alcohol inks. Add small amounts and mix thoroughly for best color and effect.


Product description
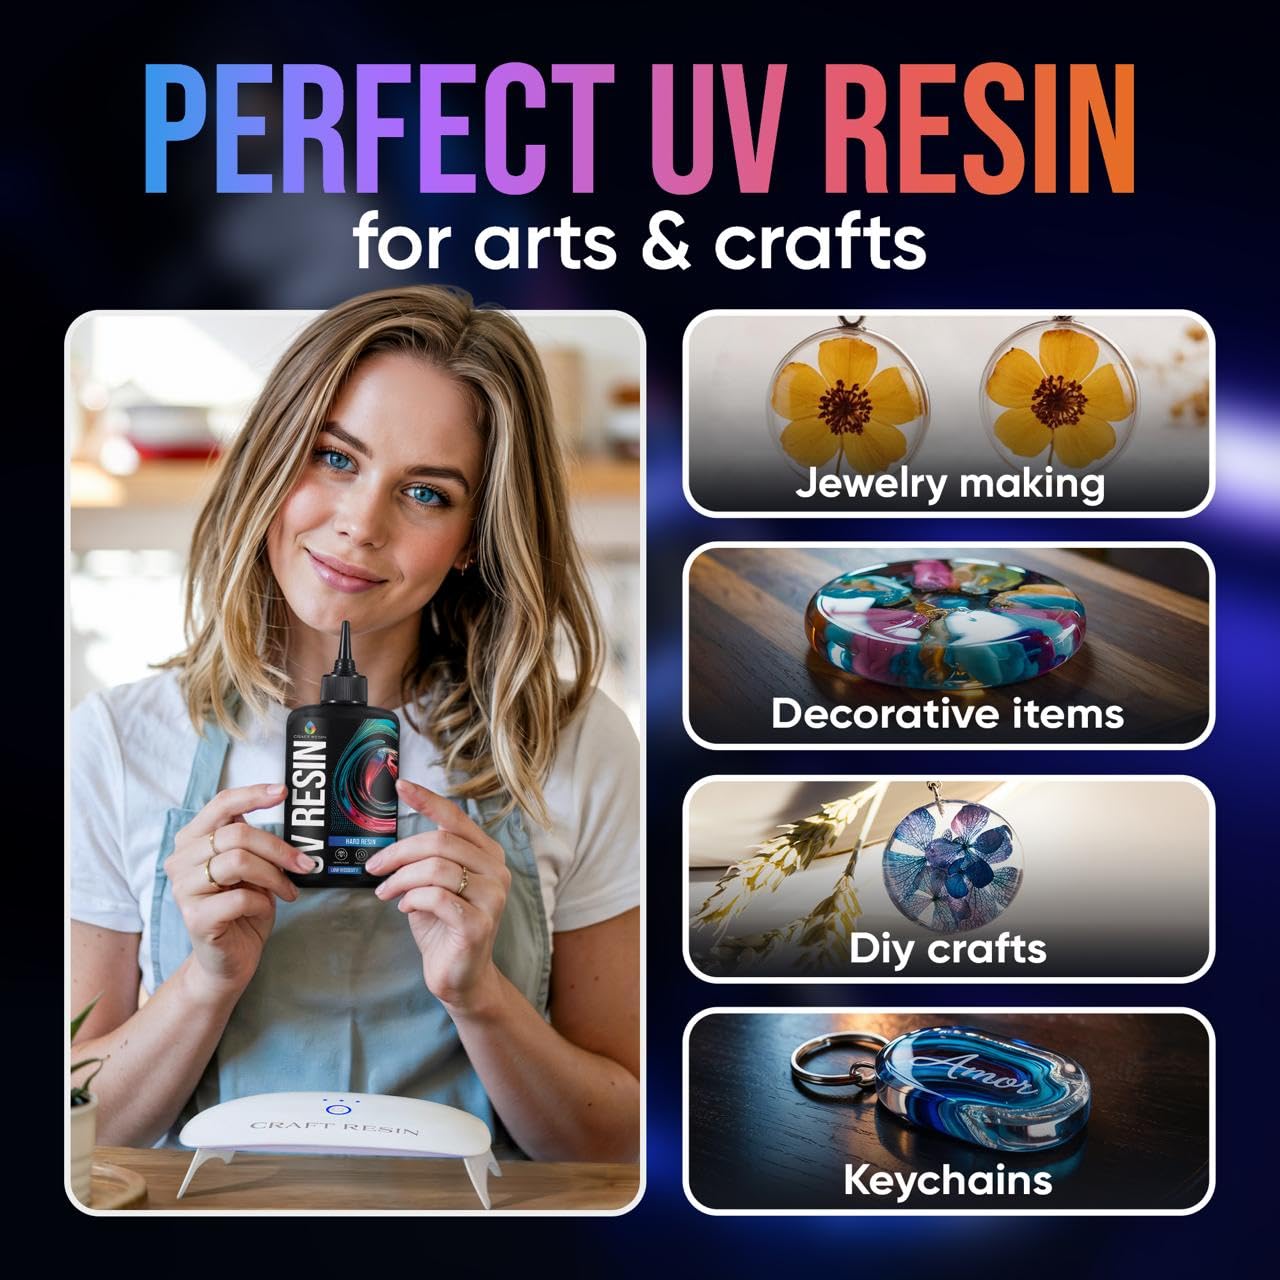
Perfect UV
Engineered for Perfect Curing
Fast. Spacious. USB-Powered.
Key Features of Our Fast-Cure Epoxy
HARDNESS 85D
LOW VISCOSITY - 2000 CPS
YELLOWING RESISTANCE
LOW SHRINKAGE
Visit the Store
“The goal isn’t to live forever, the goal is to create something that will.” At , we believe in making art that lasts. For over 5 years, we’ve empowered creators worldwide with premium, beginner-friendly that meets professional standards. We’re here to help you turn inspiration into durable, crystal-clear pieces that stand the test of time.
Visit the Store
Visit the Store
Visit the Store
Visit the Store
Visit the Store
Visit the Store


From the brand